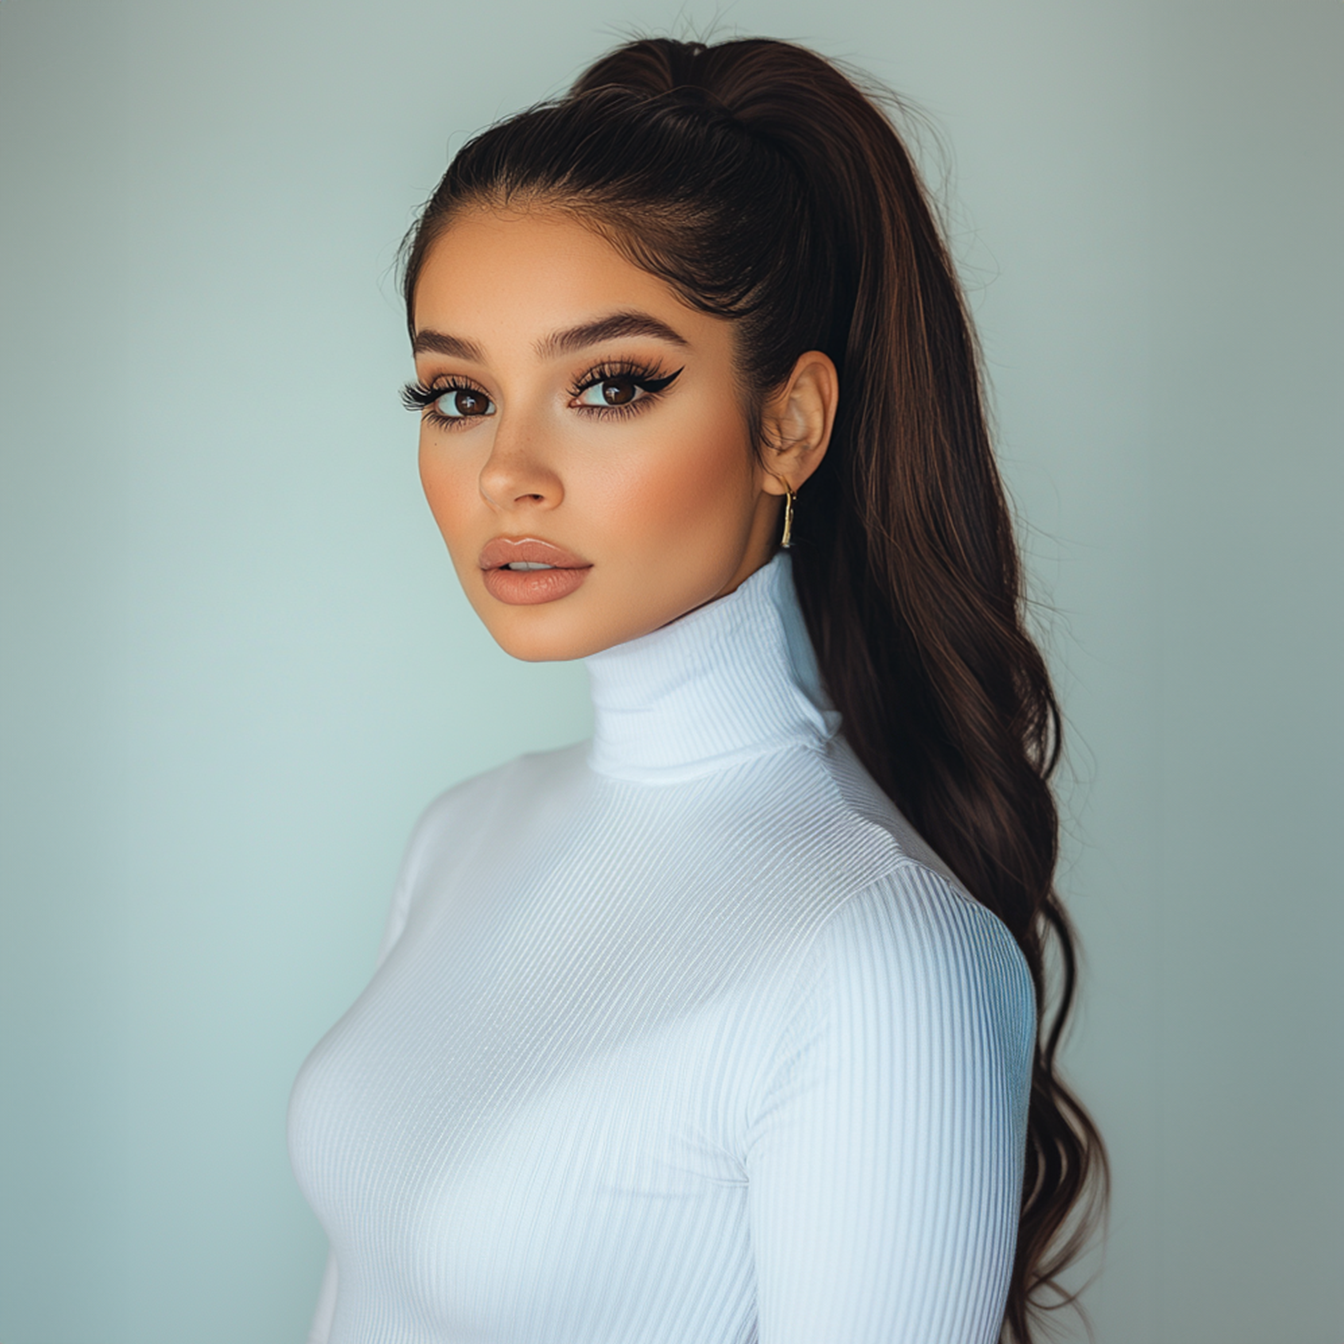
Box braids are more than just a hairstyle—they’re a statement. Whether you’re looking to protect your natural hair, add length and volume, or simply switch up your look, box braids offer a versatile and stylish option. And the best part? You can customize them in endless ways to fit your personal style.
Understanding the unique properties of African hair, such as its curl pattern and moisture requirements, is crucial to achieving flawless box braids that not only look stunning but also keep your hair healthy and happy.
If you’ve been dreaming of rocking gorgeous box braids but aren’t sure where to start, you’re in the right place! Our guide will walk you through everything you need to know about creating beautiful box braids, from prepping your hair like a pro to adding those fabulous final finishing touches.
what are box braids?
Before we dive into the how-to, let’s quickly cover what box braids actually are. Box braids are a type of protective hairstyle in which the hair is sectioned into small square (or box-shaped) parts, then braided from the root to the ends using different techniques such as traditional box braids, knotless, and rubber band techniques. Unlike other braiding styles, box braids are not attached to the scalp, which allows for more versatility in styling.
why choose box braids?
Box braids are an excellent choice for a number of reasons. First and foremost, they’re a protective hairstyle, meaning they help shield your natural hair from environmental damage and reduce the need for daily styling. They also offer a great way to add length and volume to your hair without the need for heat or chemicals. Plus, once they’re in, box braids require very little maintenance, making them perfect for anyone with a busy lifestyle.
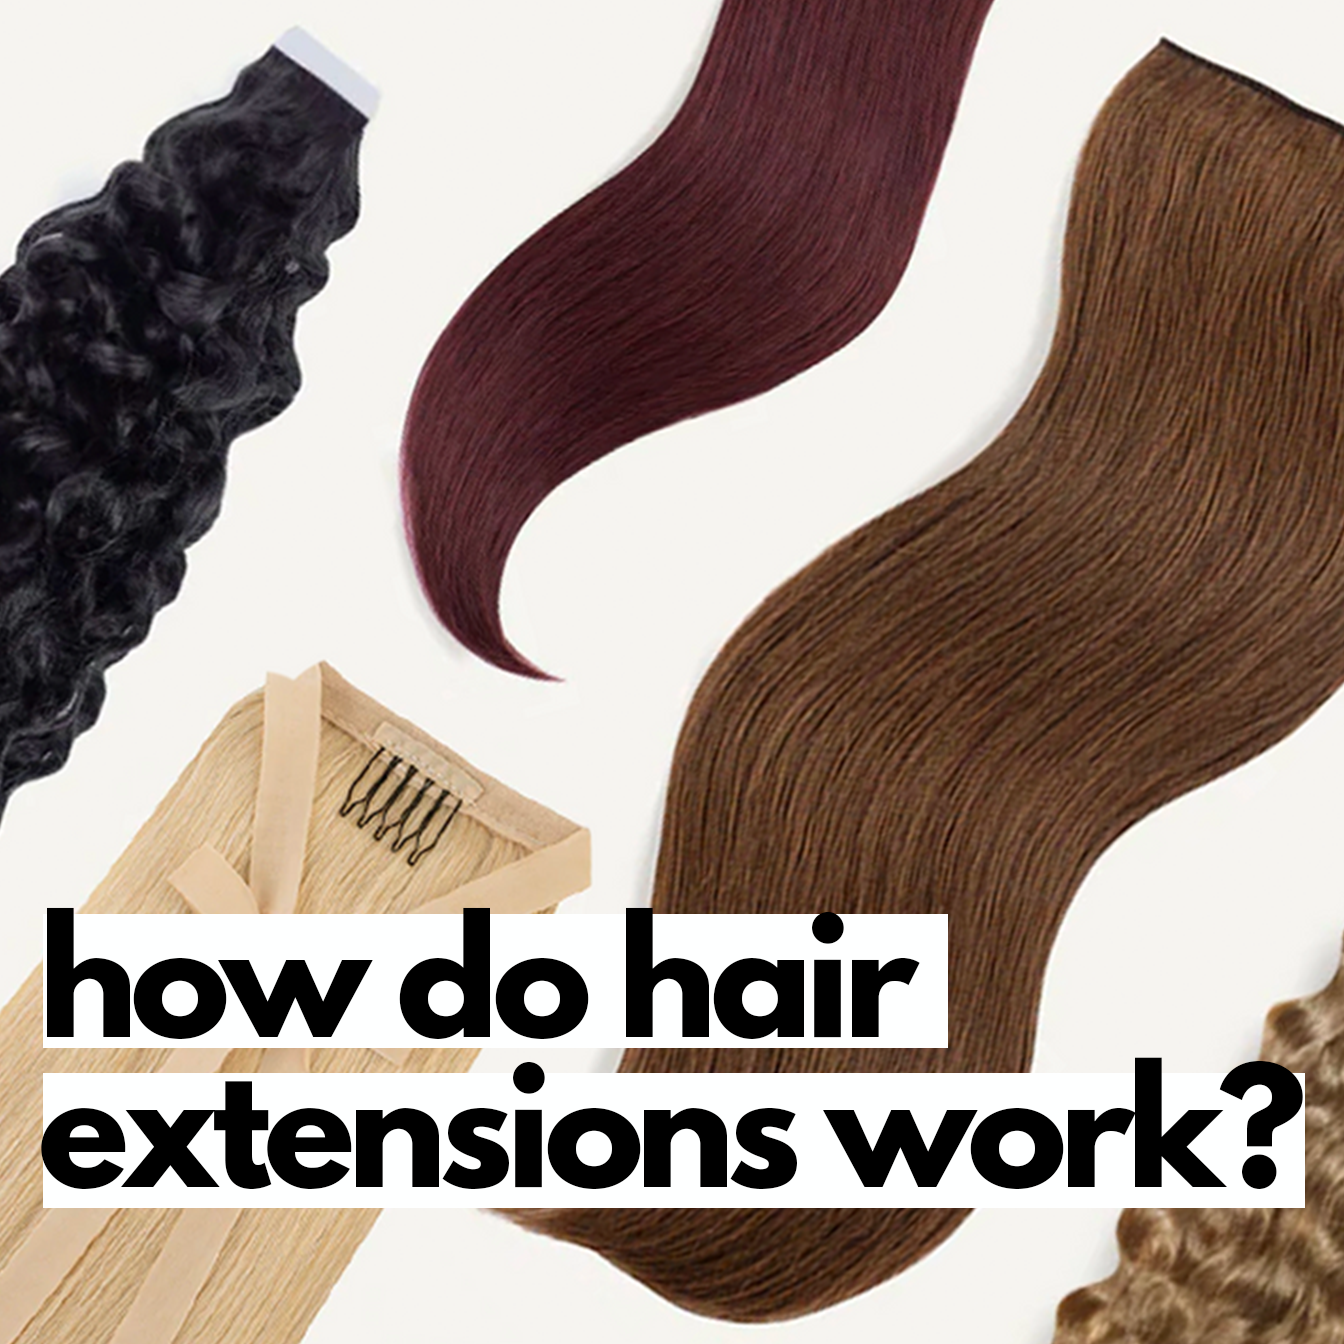
Using different types of braiding hair can help achieve specific styles and enhance the protective benefits of box braids.
Now, let’s get into the step-by-step process of creating box braids.
step 1: prepare your natural hair.
Start with clean, well-moisturized hair—trust us, it makes all the difference! If your hair is dirty or dry, you’ll end up with frizz and breakage, and that’s the last thing you want. So, give your hair some love before you begin to ensure your box braids look neat and last longer.
how to do it?
-
wash your hair thoroughly with a sulfate-free shampoo to remove any buildup.
-
deep condition your hair to ensure it’s well-hydrated.
-
detangle your hair using a wide-tooth comb or a detangling brush.
-
apply a hair mask or a light oil (like coconut or jojoba oil) to lock in moisture.
-
apply hair gel to smooth and manage hair texture, ensuring that the braids are consistent and well-defined.
irresistible tip: Consider stretching your hair before braiding, especially if you have natural curls or coils. You can do this by blow-drying on a low heat setting or using the banding method, where you tie sections of hair with hair bands to stretch them out naturally. This extra step helps make the braiding process smoother and gives you a sleeker, more polished look.
step 2: section your hair with a rat tail comb.
The size and neatness of your sections will determine how your box braids turn out. Smaller sections will give you more braids and a fuller look, while larger sections create chunkier braids. Take your time with this step—managing the hair strands properly is key to achieving the look you want and ensuring your braids are even and uniform.
how to do it?
-
use a rat-tail comb to part your hair into four large sections: two at the front and two at the back. clip each section away to keep them out of the way.
-
starting with one of the large sections, further divide your hair into smaller box-shaped parts. Sectioned hair is essential for easier braiding and ensuring uniformity in size and shape of the braids.
-
continue sectioning until your entire head is divided into small, even squares.
iirresistible tip: Use small hair bands or clips to hold each section in place as you work. This will make it easier to keep your parts neat and your braids uniform in size.
step 3: add hair extensions (optional).
While you can definitely create box braids using only your natural hair, adding extensions opens up a world of possibilities. You can experiment with different lengths, colors, and thicknesses to create the exact look you want.
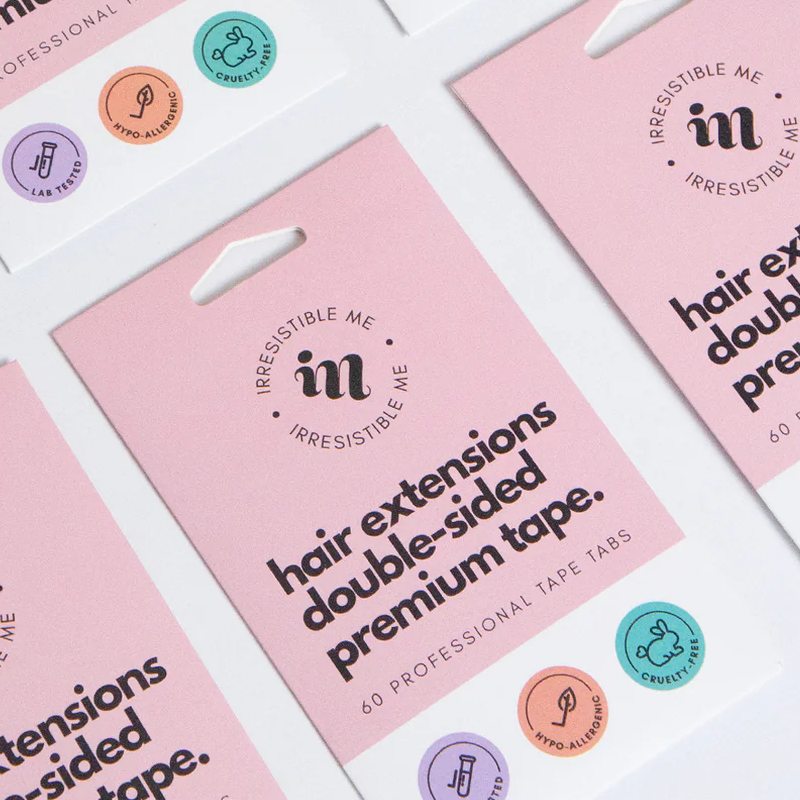
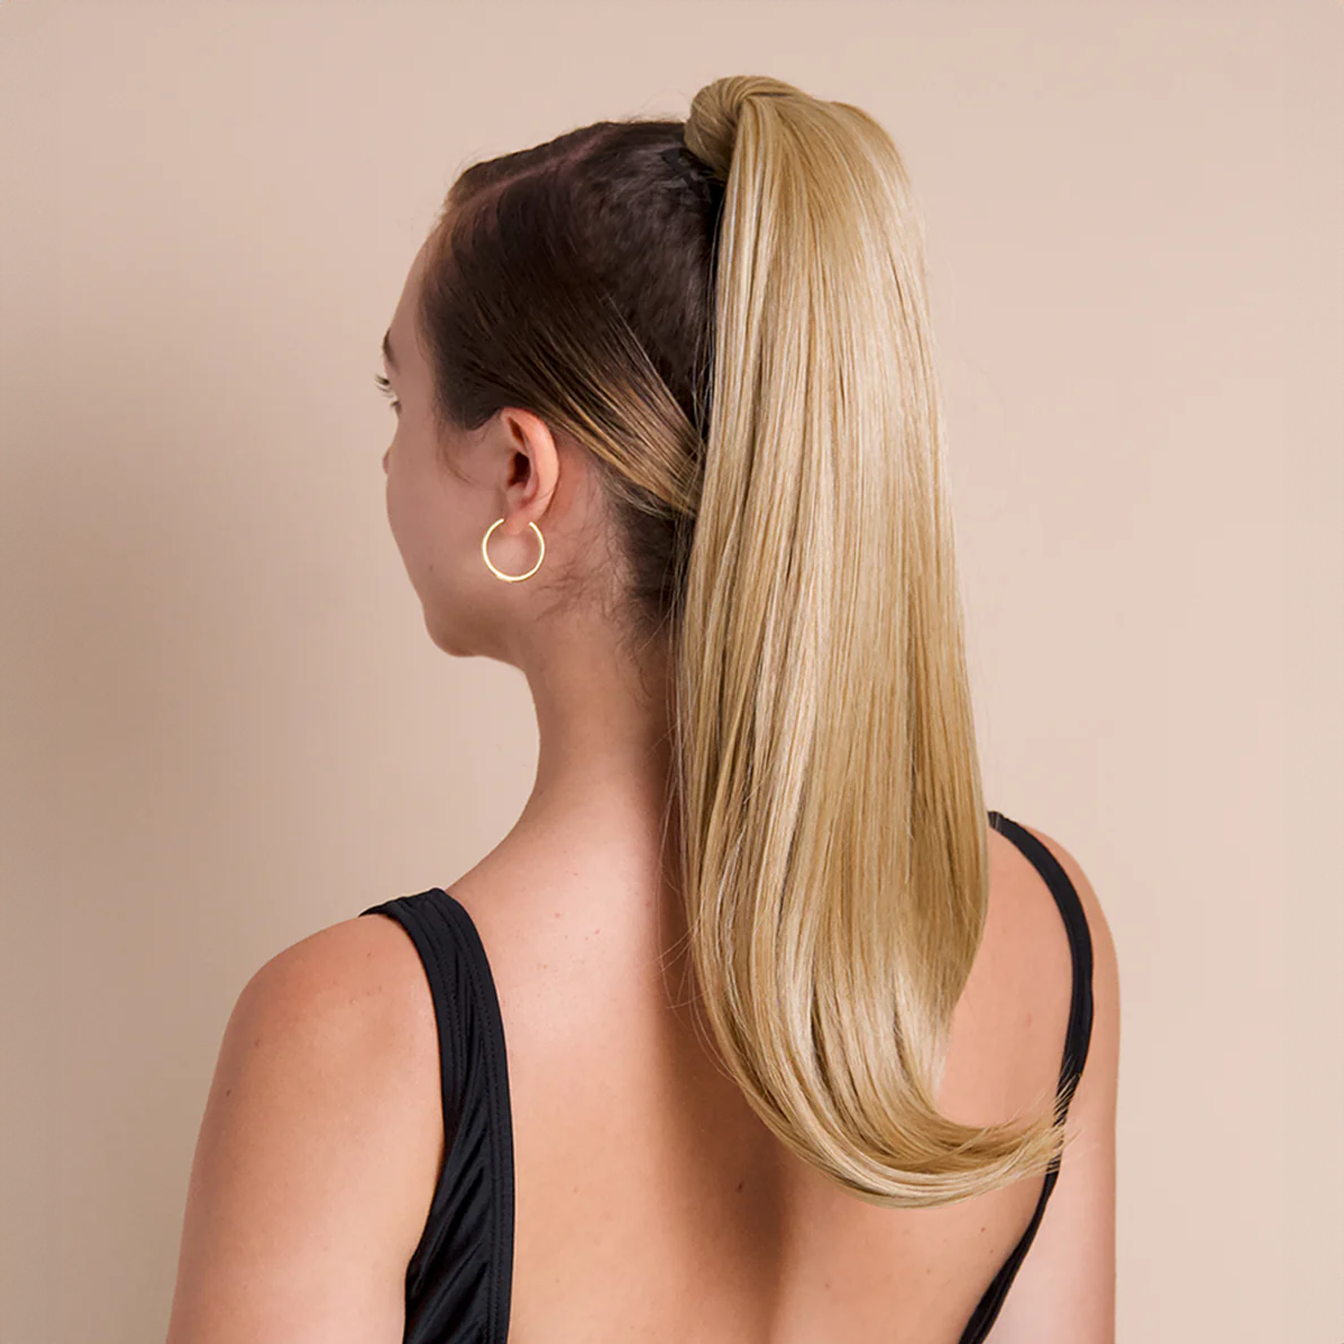
Plus, extensions help protect your natural hair by absorbing some of the stress and tension from braiding, making your style last longer and keeping your hair healthier. If you’re looking for quality options, try ours—they’re designed to blend seamlessly and give you the perfect finish!
how to do it?
-
choose your preferred hair extensions. Irresistible Me hair is a popular choice for its durability & natural look.
-
take a small section of the extension hair and fold it in half.
-
place the folded extension at the base of one of your box-shaped parts, blending it with your natural hair.
-
start braiding by crossing the extension hair over your natural hair, continuing down the length of the braid. Ensure you evenly integrate the natural hair strand with the extensions to create a balanced and aesthetically pleasing braid.
irresistible tip: To make your braids look more natural, start with smaller pieces of extension hair and gradually add more as you braid down. This technique creates a tapered effect that mimics the natural growth pattern of your hair, giving your braids a more seamless and authentic look.
step 4: braid your hair.
Braiding with consistent tension is key to ensuring your box braids are secure and long-lasting. Loose braids can unravel quickly, while overly tight braids can cause discomfort or even damage your hair. For a neat, seamless look, especially with knotless box braids, proper sectioning and the use of hair gel for smoothness are essential.
how to do it?
-
take the hair from one of your sections and divide it into three equal parts.
-
begin a regular three-strand braid, crossing the right section over the middle, then the left section over the new middle.
-
continue braiding down the length of the hair, maintaining even tension throughout.
-
when you reach the end, secure the braid with a small elastic band.
irresistible tip: Avoid braiding too tightly near your scalp to prevent unnecessary tension and protect your edges. The braids should feel secure but not painful.
step 5: finish your ends.
You’re almost at the finish line, and now it’s time to give your braids that final touch of perfection! Securing the ends of your braids is super important—not only does it keep your style intact, but it also ensures your braids last as long as possible. Whether you want a sleek finish or something a bit more playful, how you choose to finish your ends can make all the difference.
how to do it?
-
depending on the type of hair you’re using, you can either seal the ends with a small elastic band or by dipping them in hot water.
-
if you’re using synthetic hair, carefully dip the ends of your braids in hot water to seal them. be sure to use a towel to dry them off and avoid burning yourself.
-
by manipulating the thickness of synthetic hair, you can hold a thick strand and a thin strand together to achieve an even braid thickness.
-
if you prefer, you can also leave the ends loose for a different look, but be sure to trim any frayed pieces.
irresistible tip: Want to add a little extra flair to your look? Try adding small beads or cuffs to the ends of your braids. It’s a super cute way to personalize your style and give your braids that unique, girly touch that’s all your own!
step 6: style and maintain your braids.
Now that your braids are in, it’s time to have some fun! Box braids are incredibly versatile, giving you the freedom to experiment with a variety of styles, from chic updos to playful ponytails. Proper maintenance is also key to keeping your braids looking fresh and fabulous for as long as possible.
how to do it?
-
experiment with different styles, like a high bun, half-up half-down, or even wrapping your braids into a crown.
-
to keep your braids looking fresh, wrap your hair in a silk or satin scarf at night to prevent frizz and breakage.
-
use a light scalp oil or spray to keep your scalp moisturized and itch-free.
irresistible tip: Avoid heavy products that can weigh down your braids or cause buildup. A little bit of oil or braid spray goes a long way in keeping your hair and scalp healthy without making your braids look greasy or flat. Keep it light, and your braids will stay looking fresh and beautiful!
our conclusion?
Box braids aren’t just a hairstyle—they’re your ultimate style statement and hair care hero! With the right prep and a sprinkle of love, you can create stunning box braids that last for weeks, letting you play with endless looks. Feeling classic chic or adding a dash of your own creativity? Box braids are your ticket to a head-turning, gorgeous vibe.
Ready to dive into the world of box braids? Take your time, follow these steps, and soon you’ll be flaunting this fabulous style like the queen you are. Want to take your braids to the next level? Try our extensions! From braidable clip-ins to fun tape-ins and everything in between, we’ve got you covered. The secret to fabulous box braids is all in the prep, care, and a touch of your personal sparkle.
