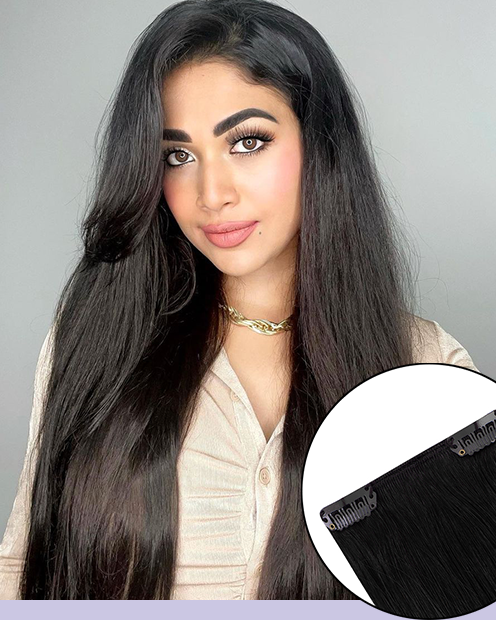
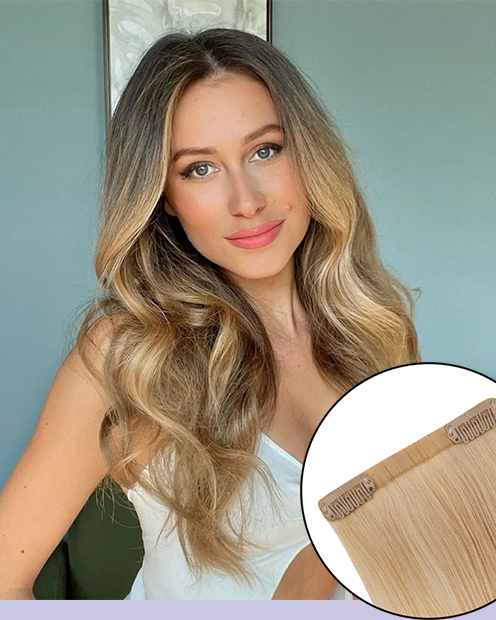


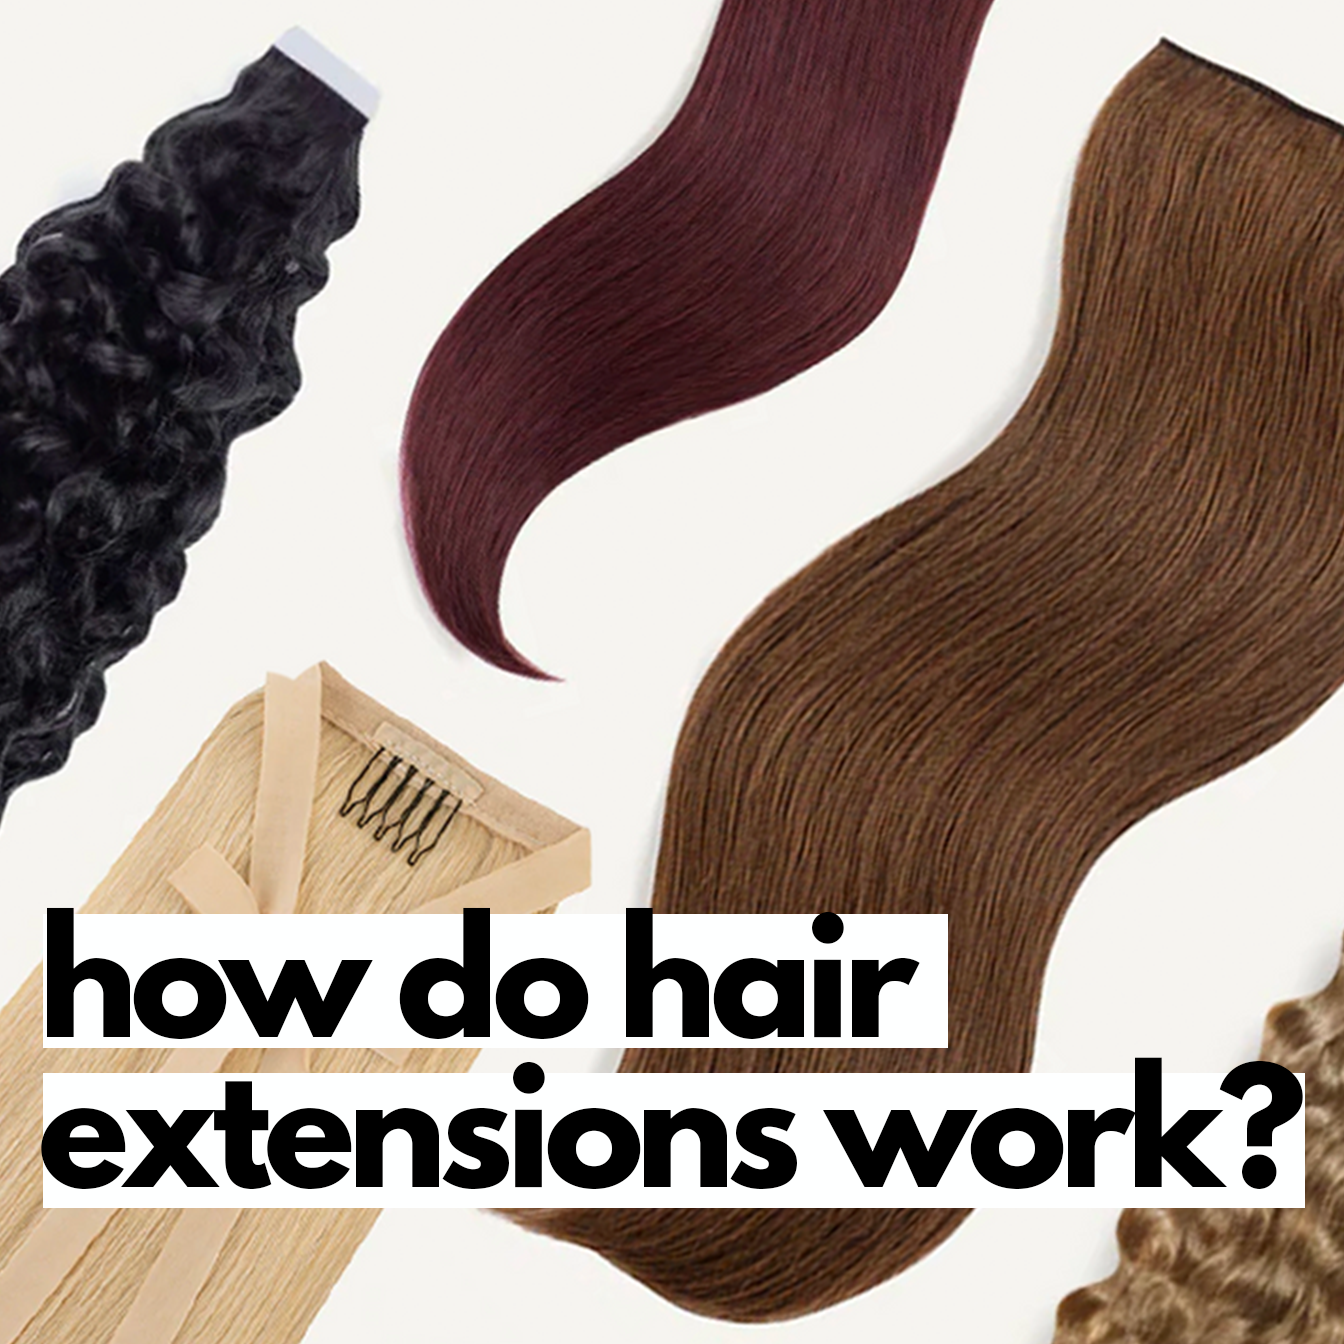


Tape-in hair extensions are the most convenient and effective solution for adding length, volume, or a fresh style to your hair. Designed for ease of use, Irresistible Me tape-in extensions are lightweight, reusable, and suitable for various hair types, including fine or thin hair.
This guide provides an easy step-by-step process for applying tape-in extensions, along with expert tips for blending, styling, and maintenance to help you achieve professional-quality results at home.

Tape in hair extensions can be applied at home without the assistance of a stylist. We are gonna show you how to put in tape-in hair extensions yourself in 6 easy steps while keeping your natural hair safe!
Step-by-Step Application Instructions.
Follow these detailed steps to apply your Irresistible Me tape-in extensions correctly. Proper preparation and technique are essential for a secure fit and seamless blend.
Key benefits:
-
Quick application (typically 30-60 minutes).
-
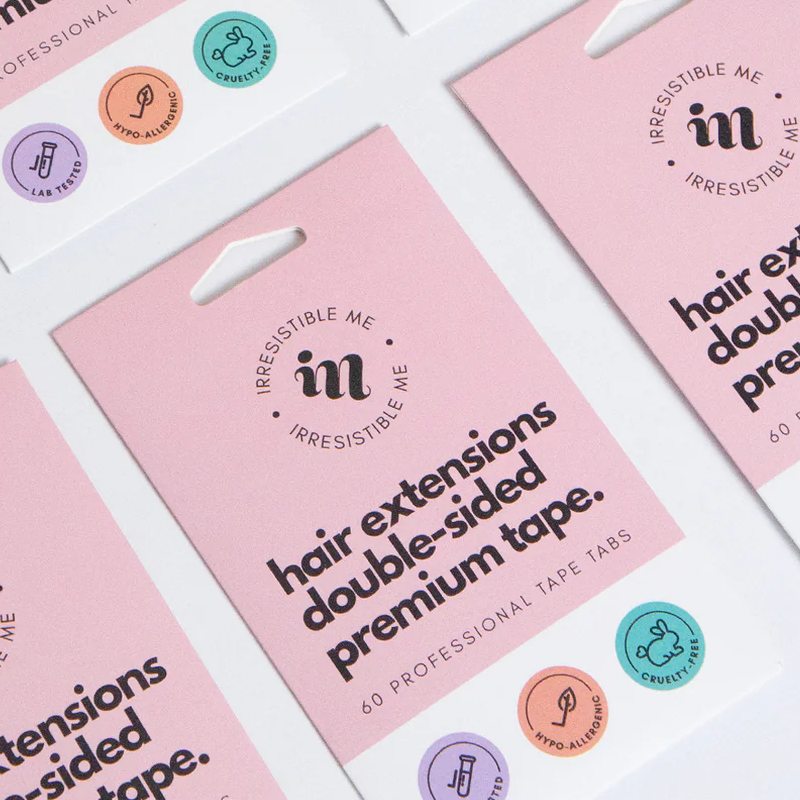
Reusable with replacement tape.
-
Ideal for adding volume or length without long-term commitment.
--video
Step 1: Prepare Your Hair and Tools.
Start by calling over your BFF and preparing your work station: tape-ins out, a brush, a rat tail comb, clips and your favorite styling tools.
-
Cleanse: Wash your hair with a sulfate-free shampoo to remove oils and product buildup. Avoid applying conditioner near the roots, as it can reduce the adhesive’s effectiveness.
-
Dry Completely: Ensure your hair is fully dry, moisture can weaken the tape’s bond.
-
Gather Tools: You’ll need a tail comb (for precise parting), sectioning clips, a mirror, and your Irresistible Me tape-in extensions.
Tip: Test a small section of hair with a spare extension to confirm the tape adheres well before proceeding.
Step 2: Section Your Hair.
Before we get into the nitty-gritty of applying your tape-in extensions, make sure you have your tail comb and sectioning clips ready. These tools will be your best friends during this process. So, let's dive into how to section your hair like a pro! Here's how to section your hair for the perfect tape-in extension application:
-
Start Low: Use your tail comb to create a horizontal parting at the nape of your neck, about 1-2 inches above the hairline.
-
Secure Excess Hair: Clip the remaining hair up to keep it out of the way.
-
Spacing: Leave approximately 0.5 inches of space between the extension and your scalp to avoid tension or discomfort.
Tip: For even distribution, measure the width of each section to match the extension strips (typically 1-2 inches wide).
Step 3: Apply the Tape-in extensions.
Now it’s time to put in your Irresistible Me tape-in extensions, don’t worry, it’s easier than it sounds!
-
Peel the tape: Carefully remove the cover from the sticky side of the extension to reveal the adhesive.
-
Position it: Take a thin section of your hair and place the extension underneath, close to the roots but not right on the scalp (leave a tiny gap, about 0.5 inches, for comfort).
-
Press down: Firmly press the extension against your hair for 10-15 seconds so it sticks well. Want extra hold? Use the “sandwich method” - place another extension on top of the same section and press again.
-
Repeat: Move across that section of hair, adding more extensions side by side. Then, go back to Step 2 to section the next layer up and keep going until you’re done!
Tip: Don’t place extensions too close to your hairline (keep them about 1 inch from the sides) so they stay hidden. Use a mirror to check they’re straight - crooked ones can feel weird or look off. That’s it! You’re building a fuller, longer look, one strip at a time.
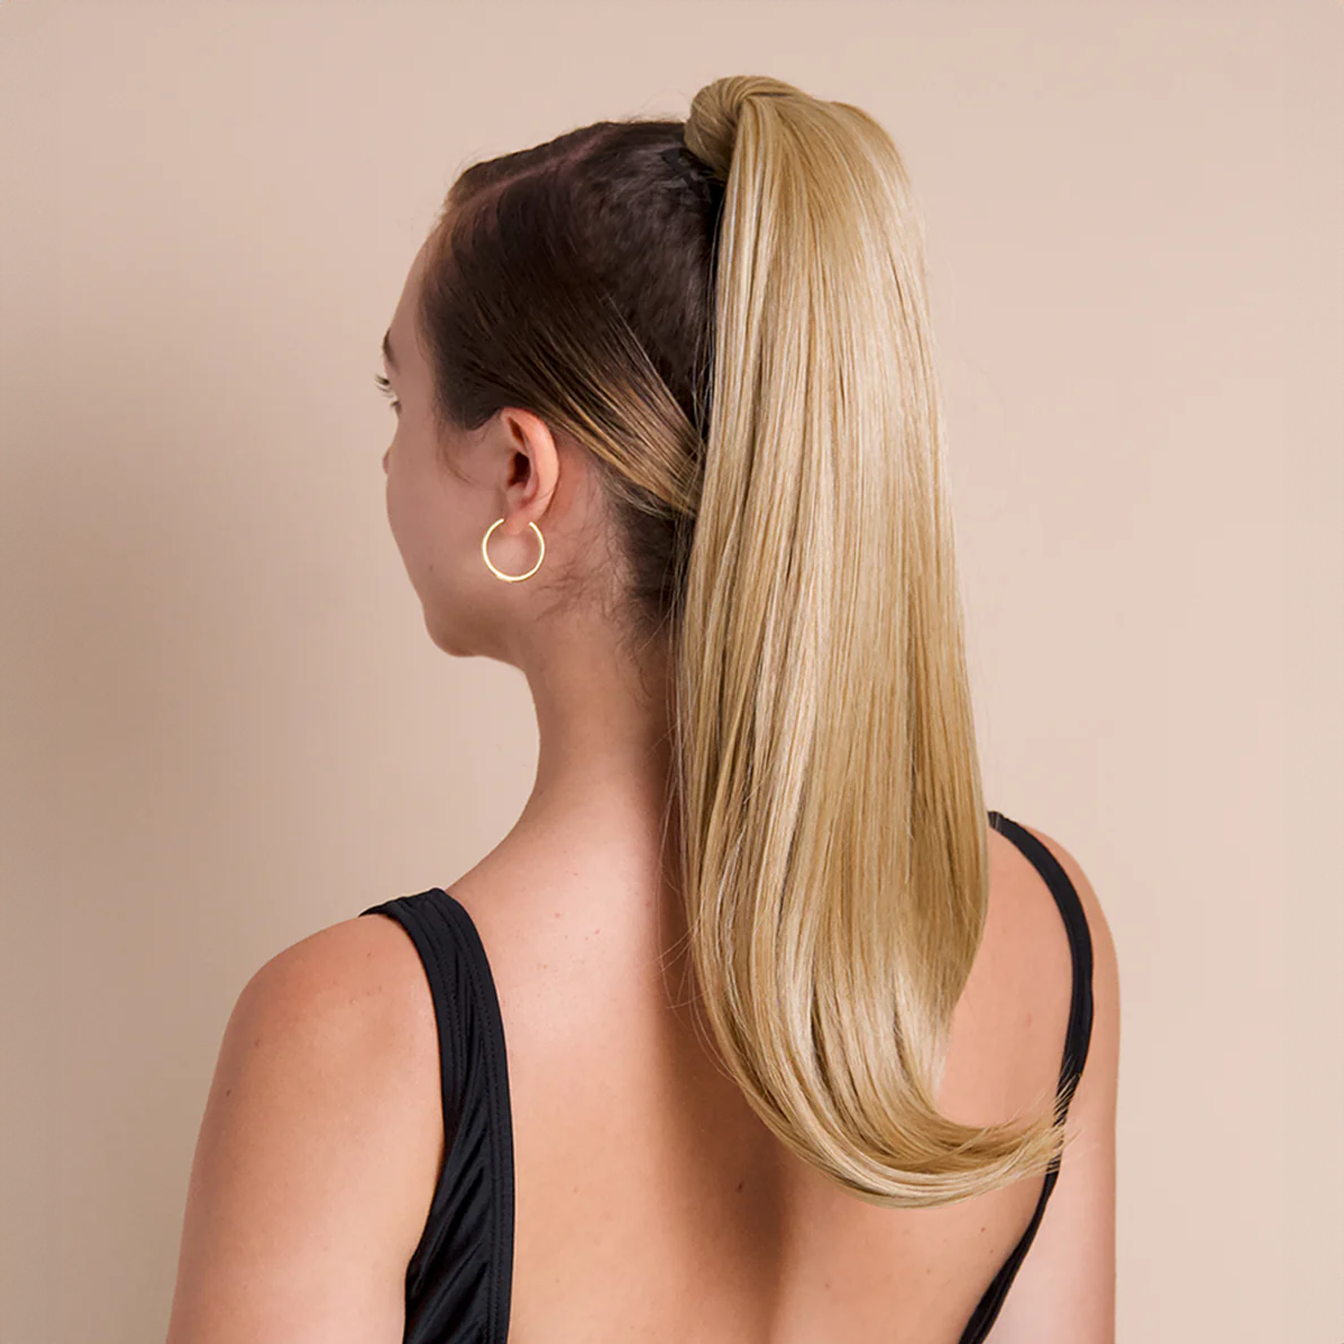
Step 4: Blending and Styling.
Proper blending and styling ensure your extensions look like a natural part of your hair.
Apply a heat protectant spray before styling and avoid excessive heat to preserve the extensions’ longevity.
For a perfect blend, the way to go is adding curls. This way you will blend you natural hair and tape-ins which will give you the perfect seamless blend. Use a curl iron on low heat (below 200°F) for a sleek finish.
extra tips.
To make sure the tapes aren’t too stiff in smaller areas like around your temple line, cut a weft in half to gain more mobility for the strands framing your face.
Avoid taping wefts too close to the top of your head though, so you have enough hair left to cover the last row of tape-ins.
You will have to be careful while wearing the tape-ins, as they're very prone to
tangling. Brush your hair more frequently and take some extra time in the shower. Only use sulfate-free shampoo and conditioner!
-
All you need in order to remove your tape-in extensions all by yourself is a good quality tape remover. You can get a specialized one, or just opt for your favorite heavy hair oil.

After you have successfully removed all the tape in hair extensions, your natural hair will feel sticky and oily at the same time. Wash your hair and use a moisturizing conditioner. It would also help if you continuously brush your hair from roots to ends while letting your hair strands soak and absorb the conditioner. See this guide on how to take care of hair extensions.

Now that you have removed all the tape in hair extensions, set your hair extensions aside and remember that you can still reuse them. All you have to do is replace the tapes and follow the same process!

