


super quick tutorial!
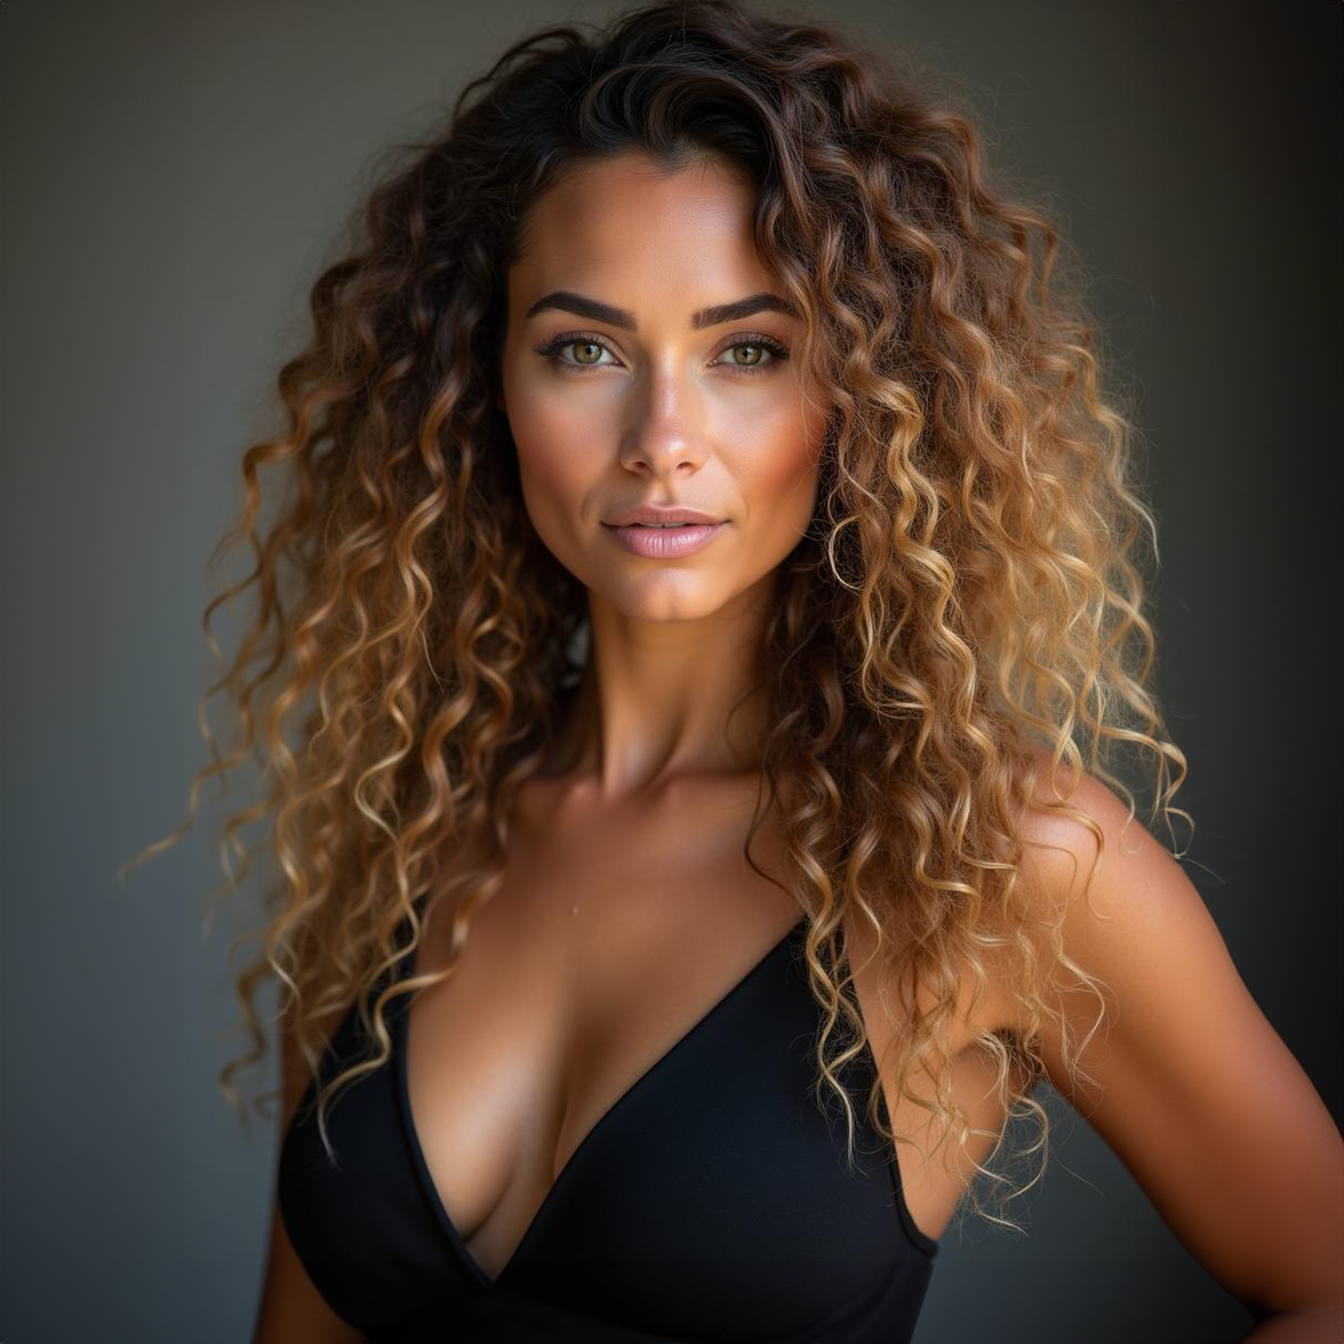
Clip-in hair extensions are your best option for a zero damage transformation. You can clip these hair extensions in and out based on your personal preference!
Follow this simple tutorial on how to clip in hair extensions to blend seamlessly for a stress-free, just irresistible hairstyle!

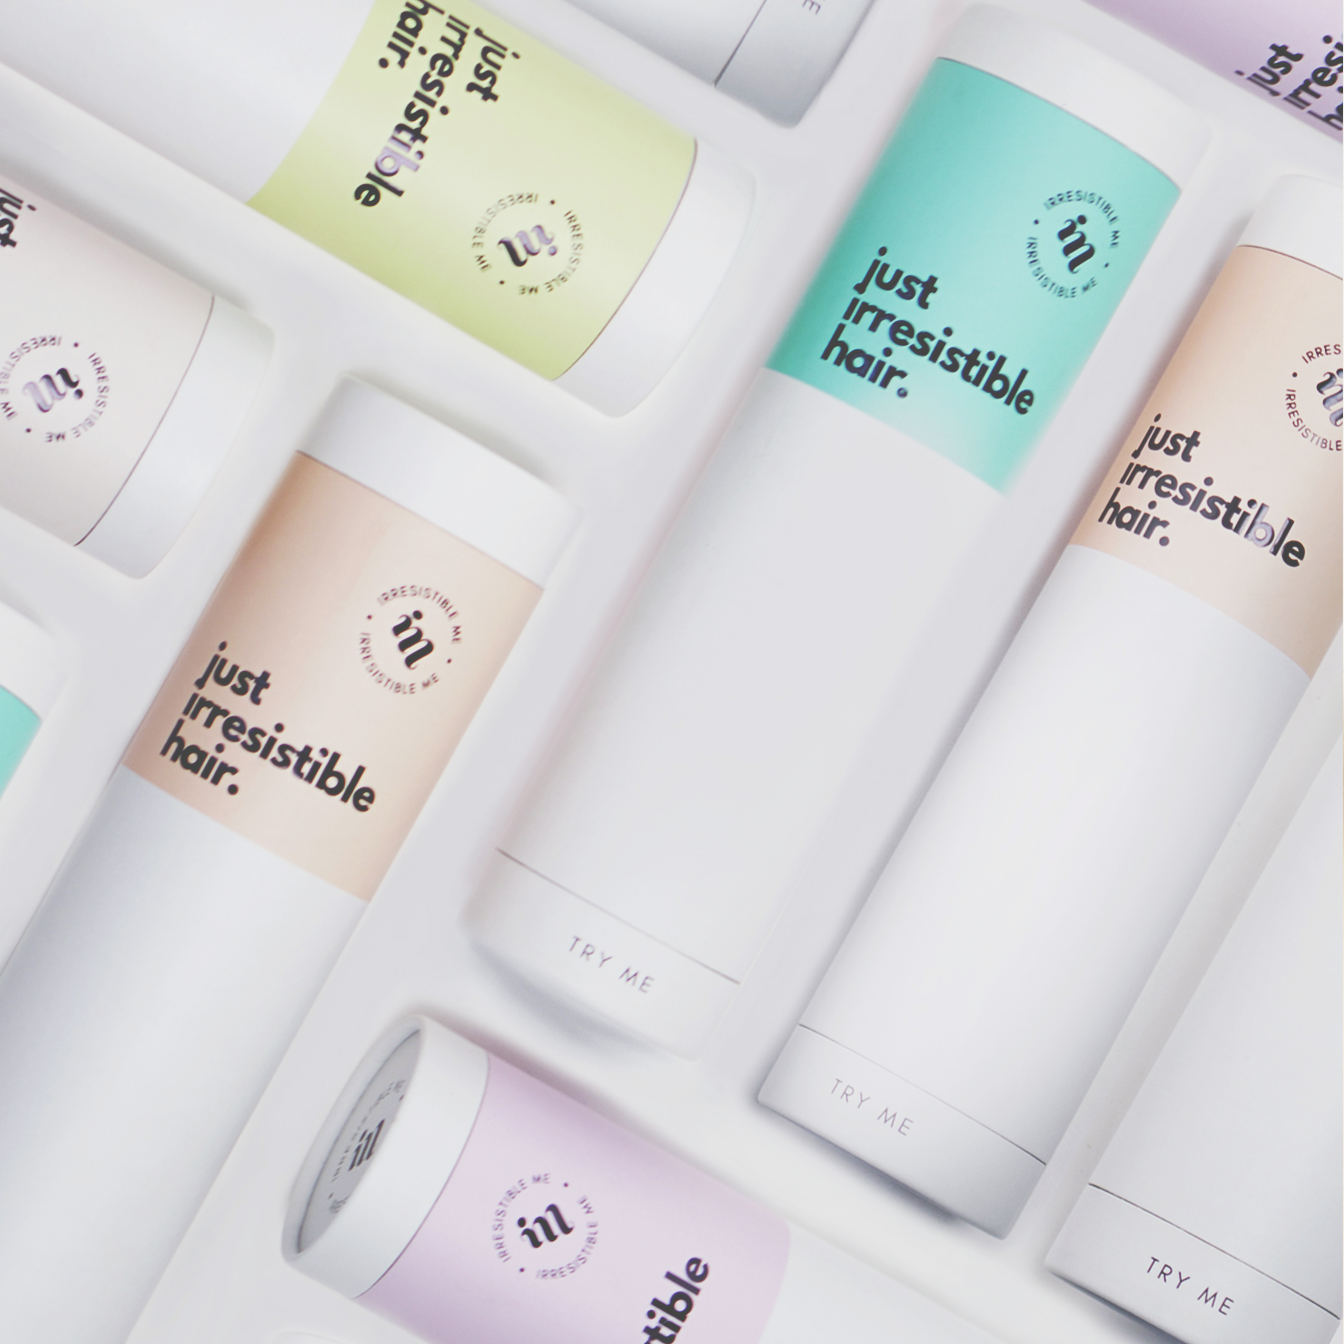
step 1: unboxing your clip in hair extensions.
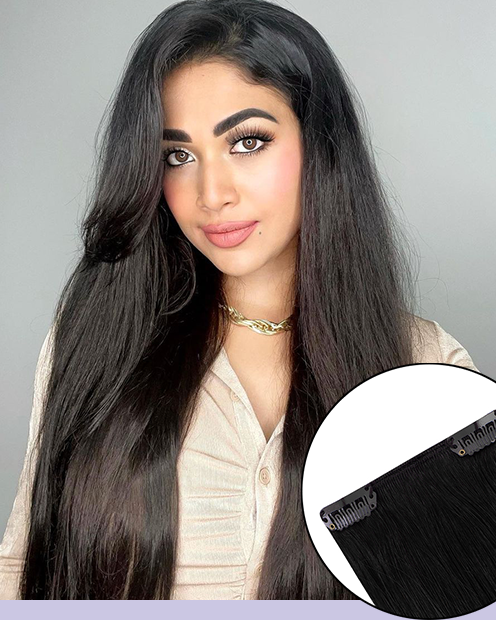
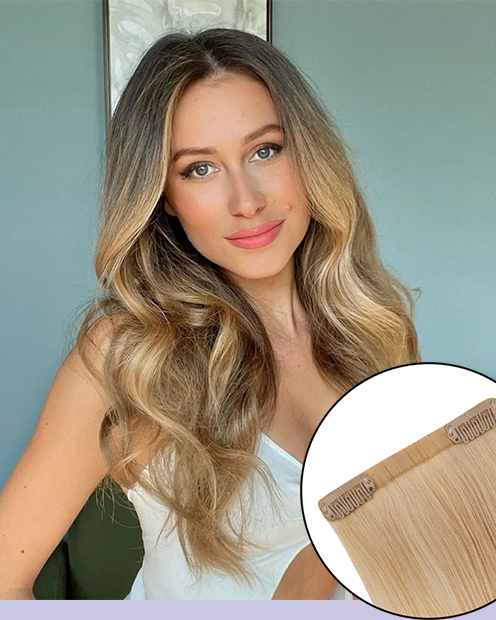
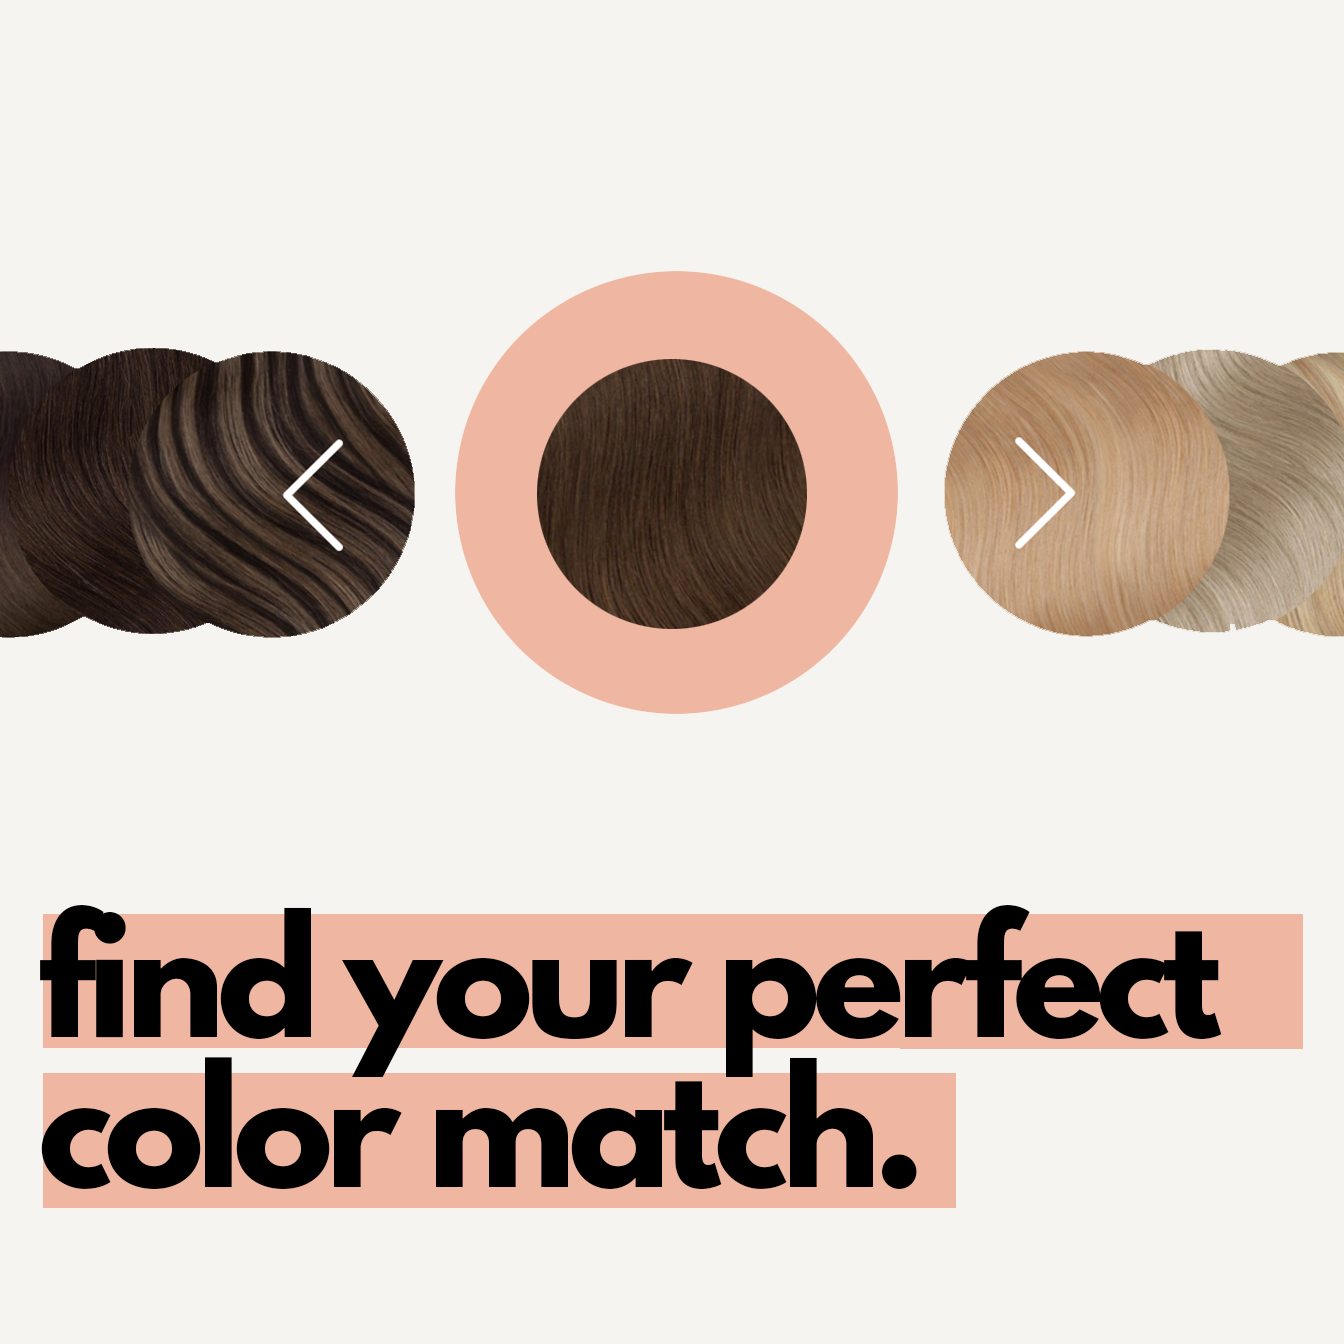
Once your favorite hair extensions have arrived, open the "try me" section at the bottom to see a hair clip and test to see if it's a perfect color match to your hair. Check out this article before purchasing to make sure you get the best color.
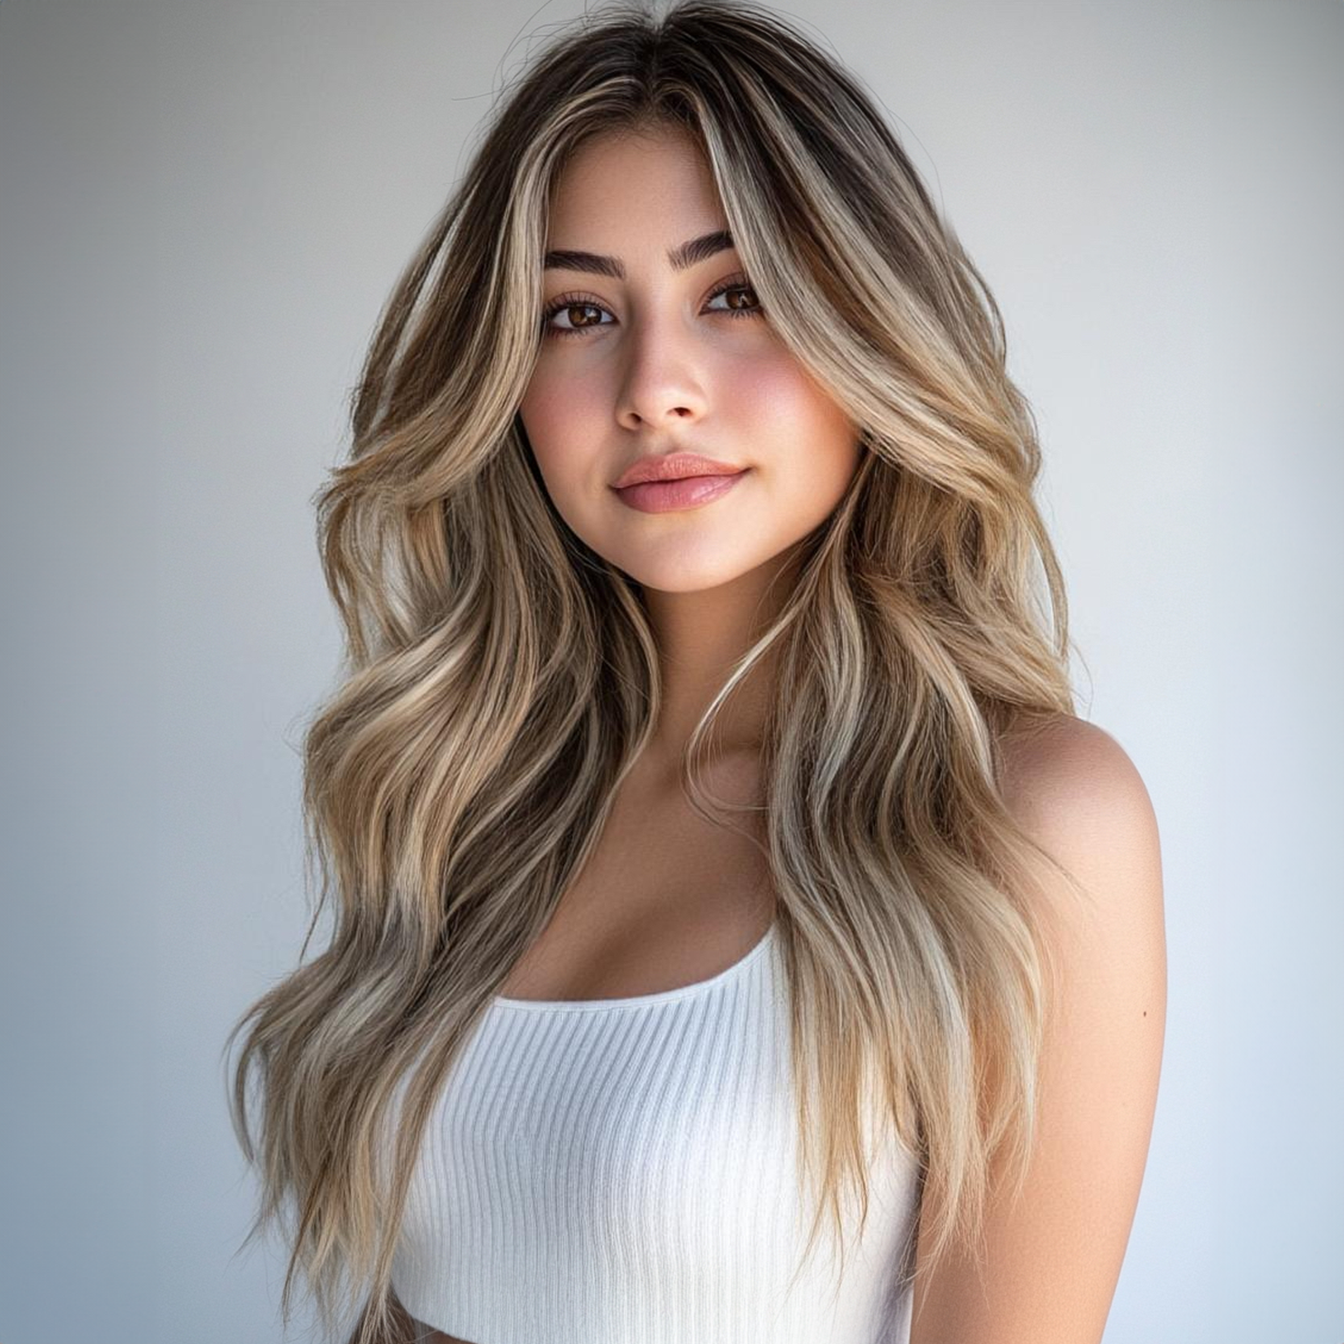
Got your perfect match hair color for clip in hair extensions? You may now open the main section of the tube to see the whole set. These hair extensions made of real hair are the best choice for people that have thin hair, fine hair but also for those that have thick hair and want to add more length and enjoy the look of having long hair.

Brush your hair and the hair extensions to get rid of any tangles. Continue by organizing the hair wefts and group them by size.
Pro tip: use 2 mirrors, front and back. This will make it easier to see what piece goes where on your head.
step 2: clip.

You can begin by clipping in the 3 and 4 clip wefts starting at the bottom of your head, always working your way up.
First attach the middle clips, then secure the pieces to your hair with the side clips. Feel free to stack as many wefts as you see fit, but do not exceed the middle of your head (by the ear line), to keep the clip in hair from showing through. Finish by adding in the smaller wefts of clip in extensions.

The 2-clip wefts will go to the sides of your head for more volume. The remaining 1-clip wefts can be used to cover any spots between the other wefts. Consider these your extra clip in hair pieces for volume!
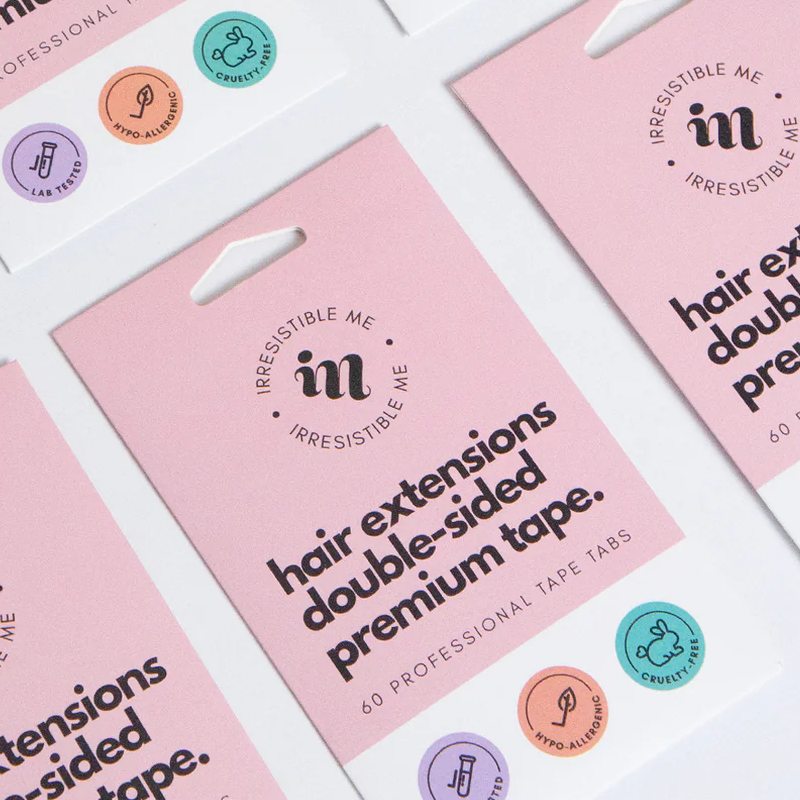
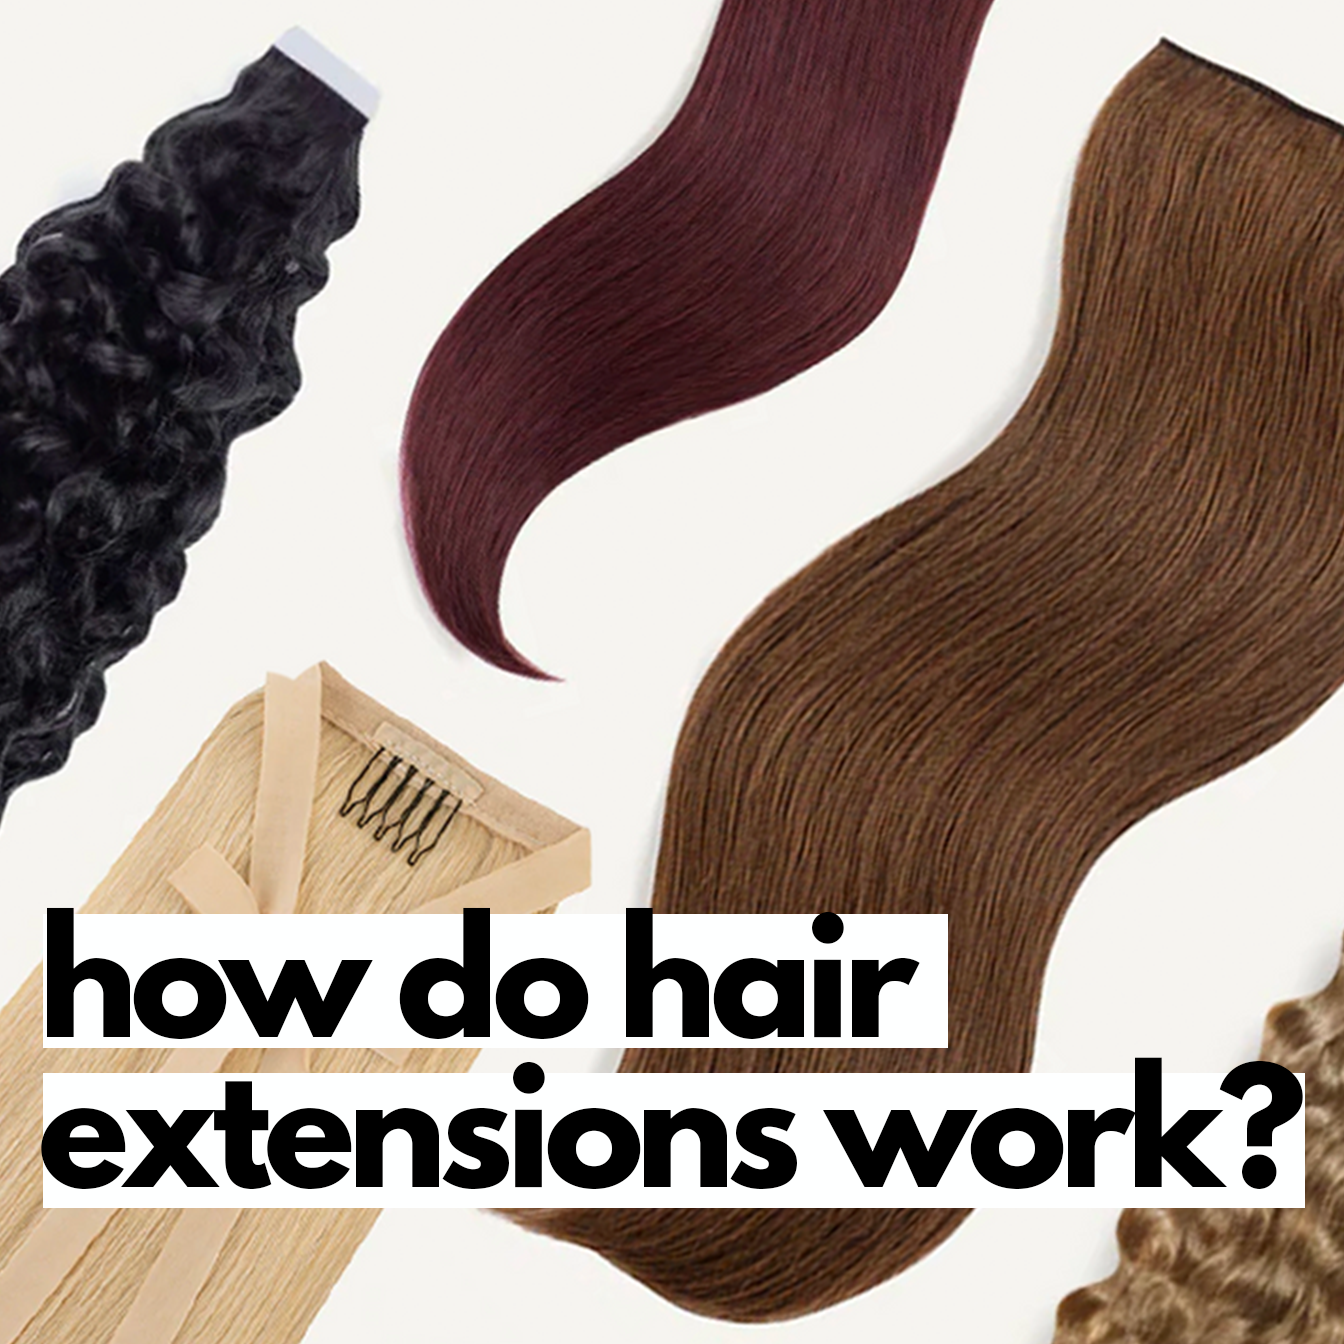
If you are not sure what type of hair extensions to buy, click here.
step 3: style!

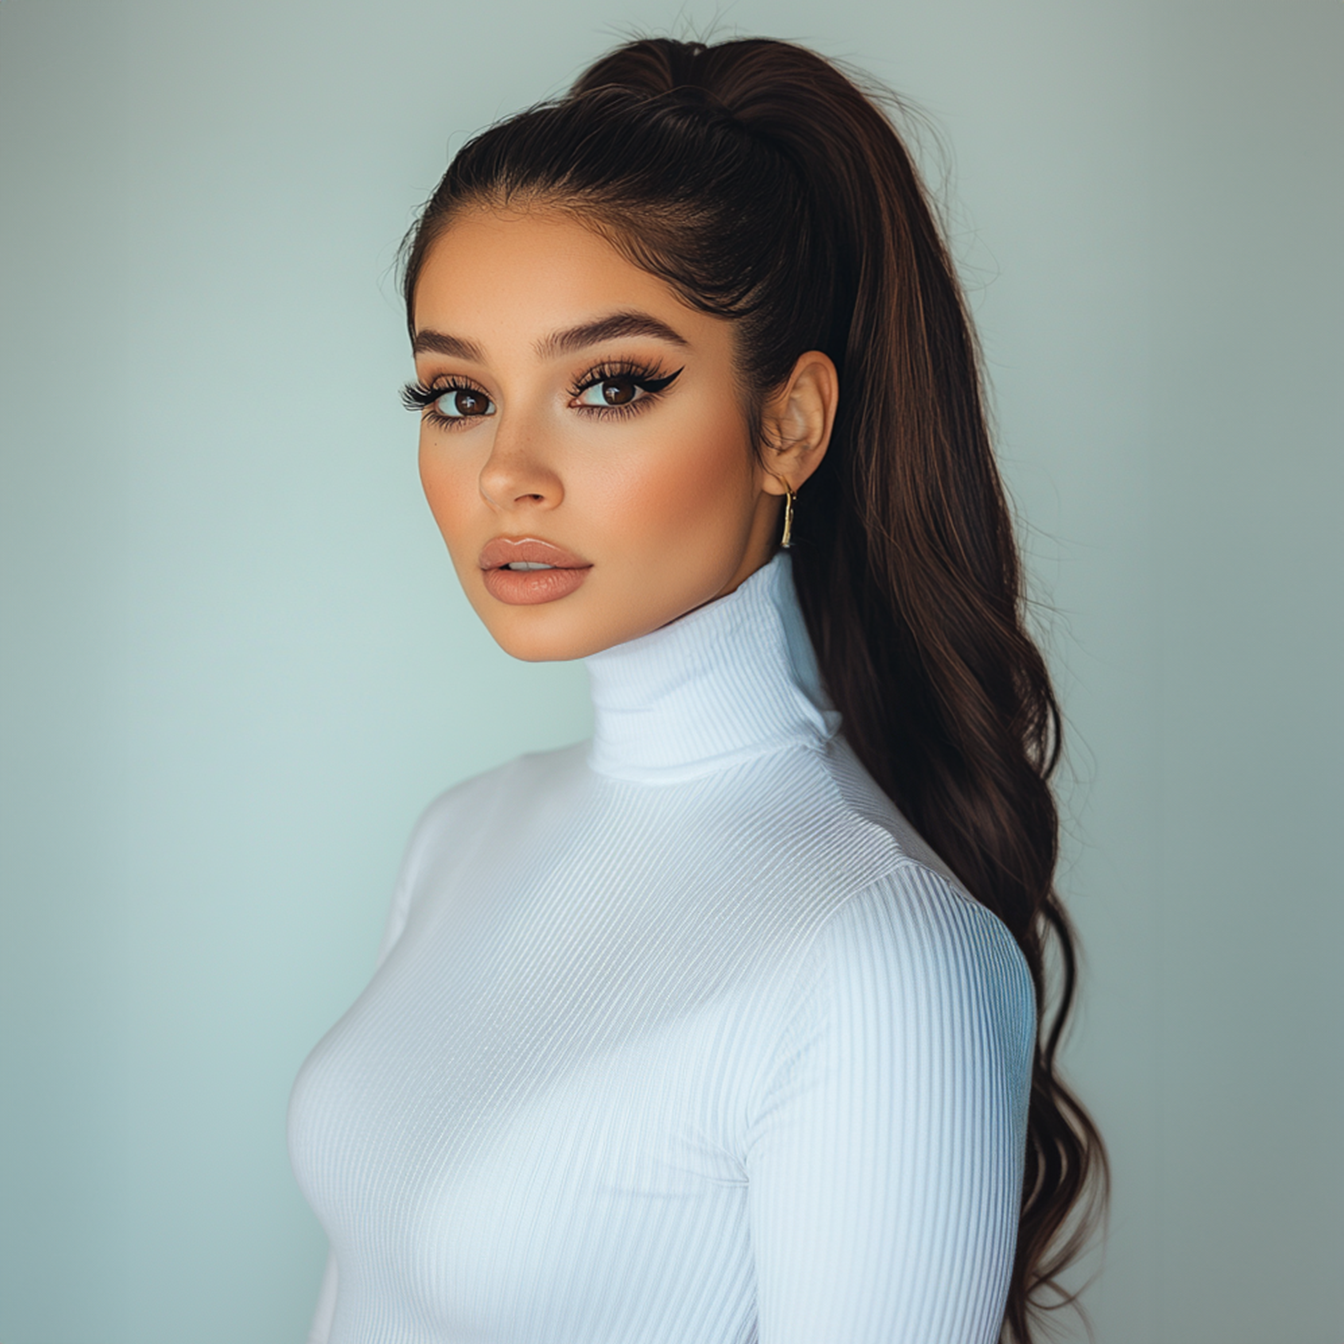
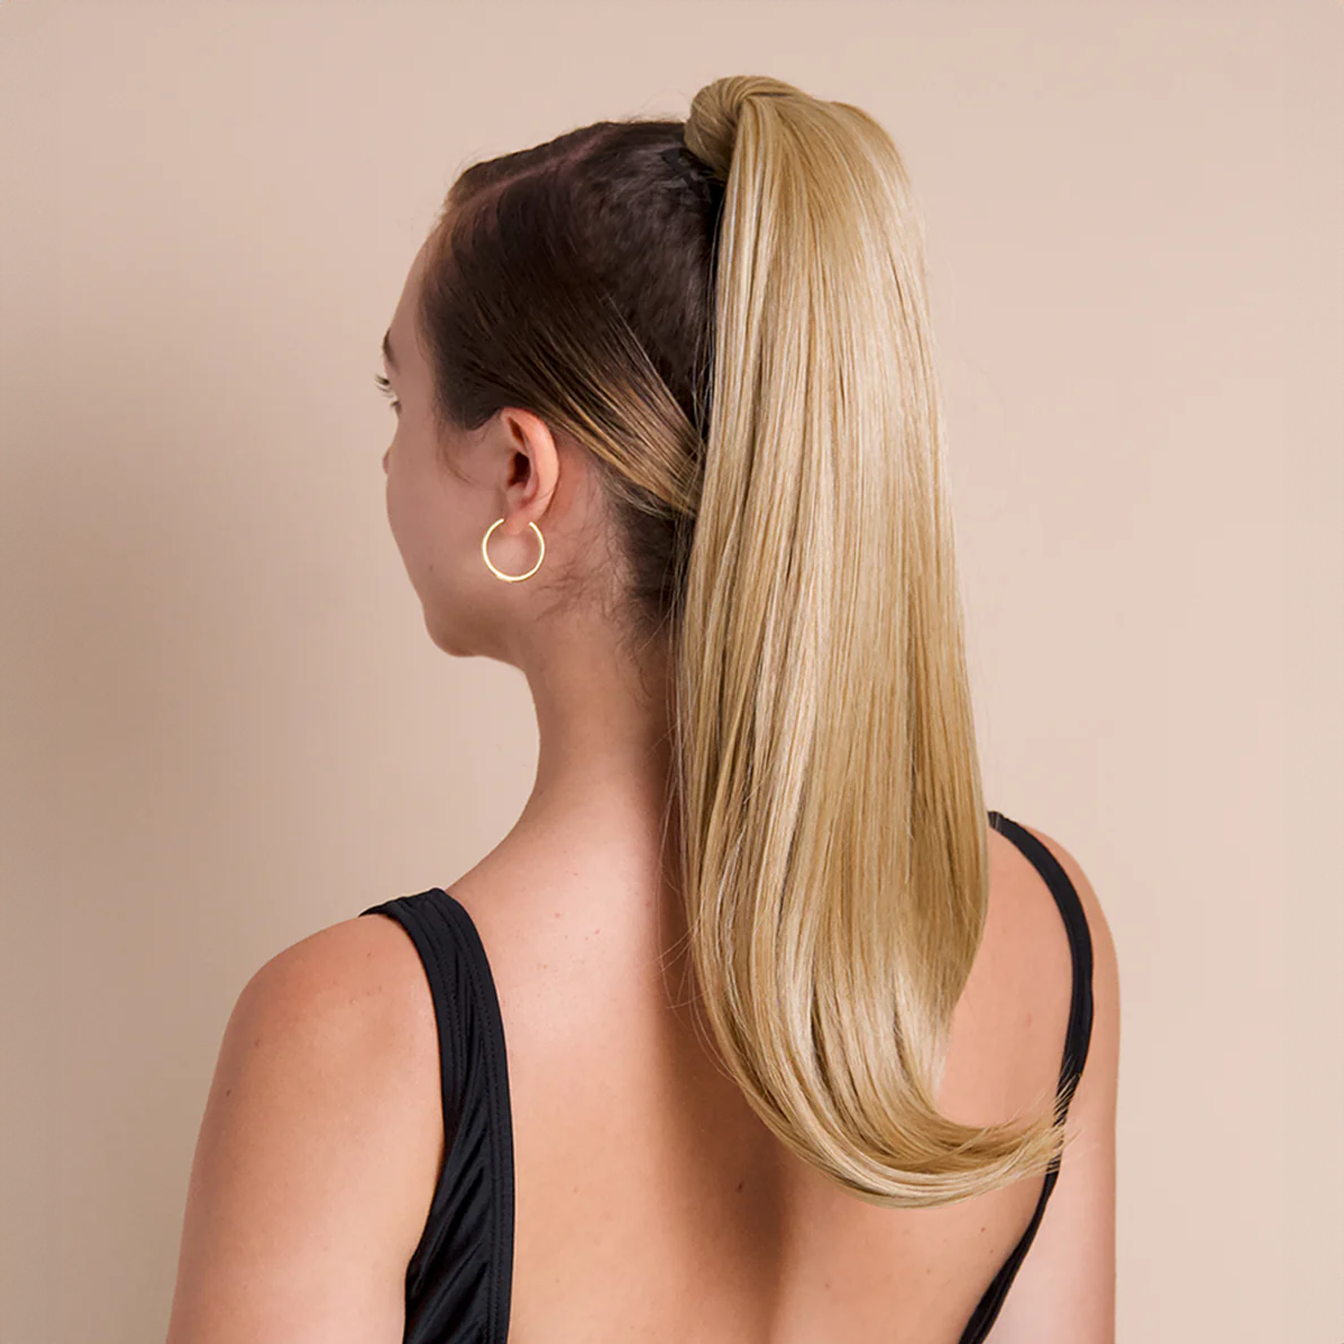
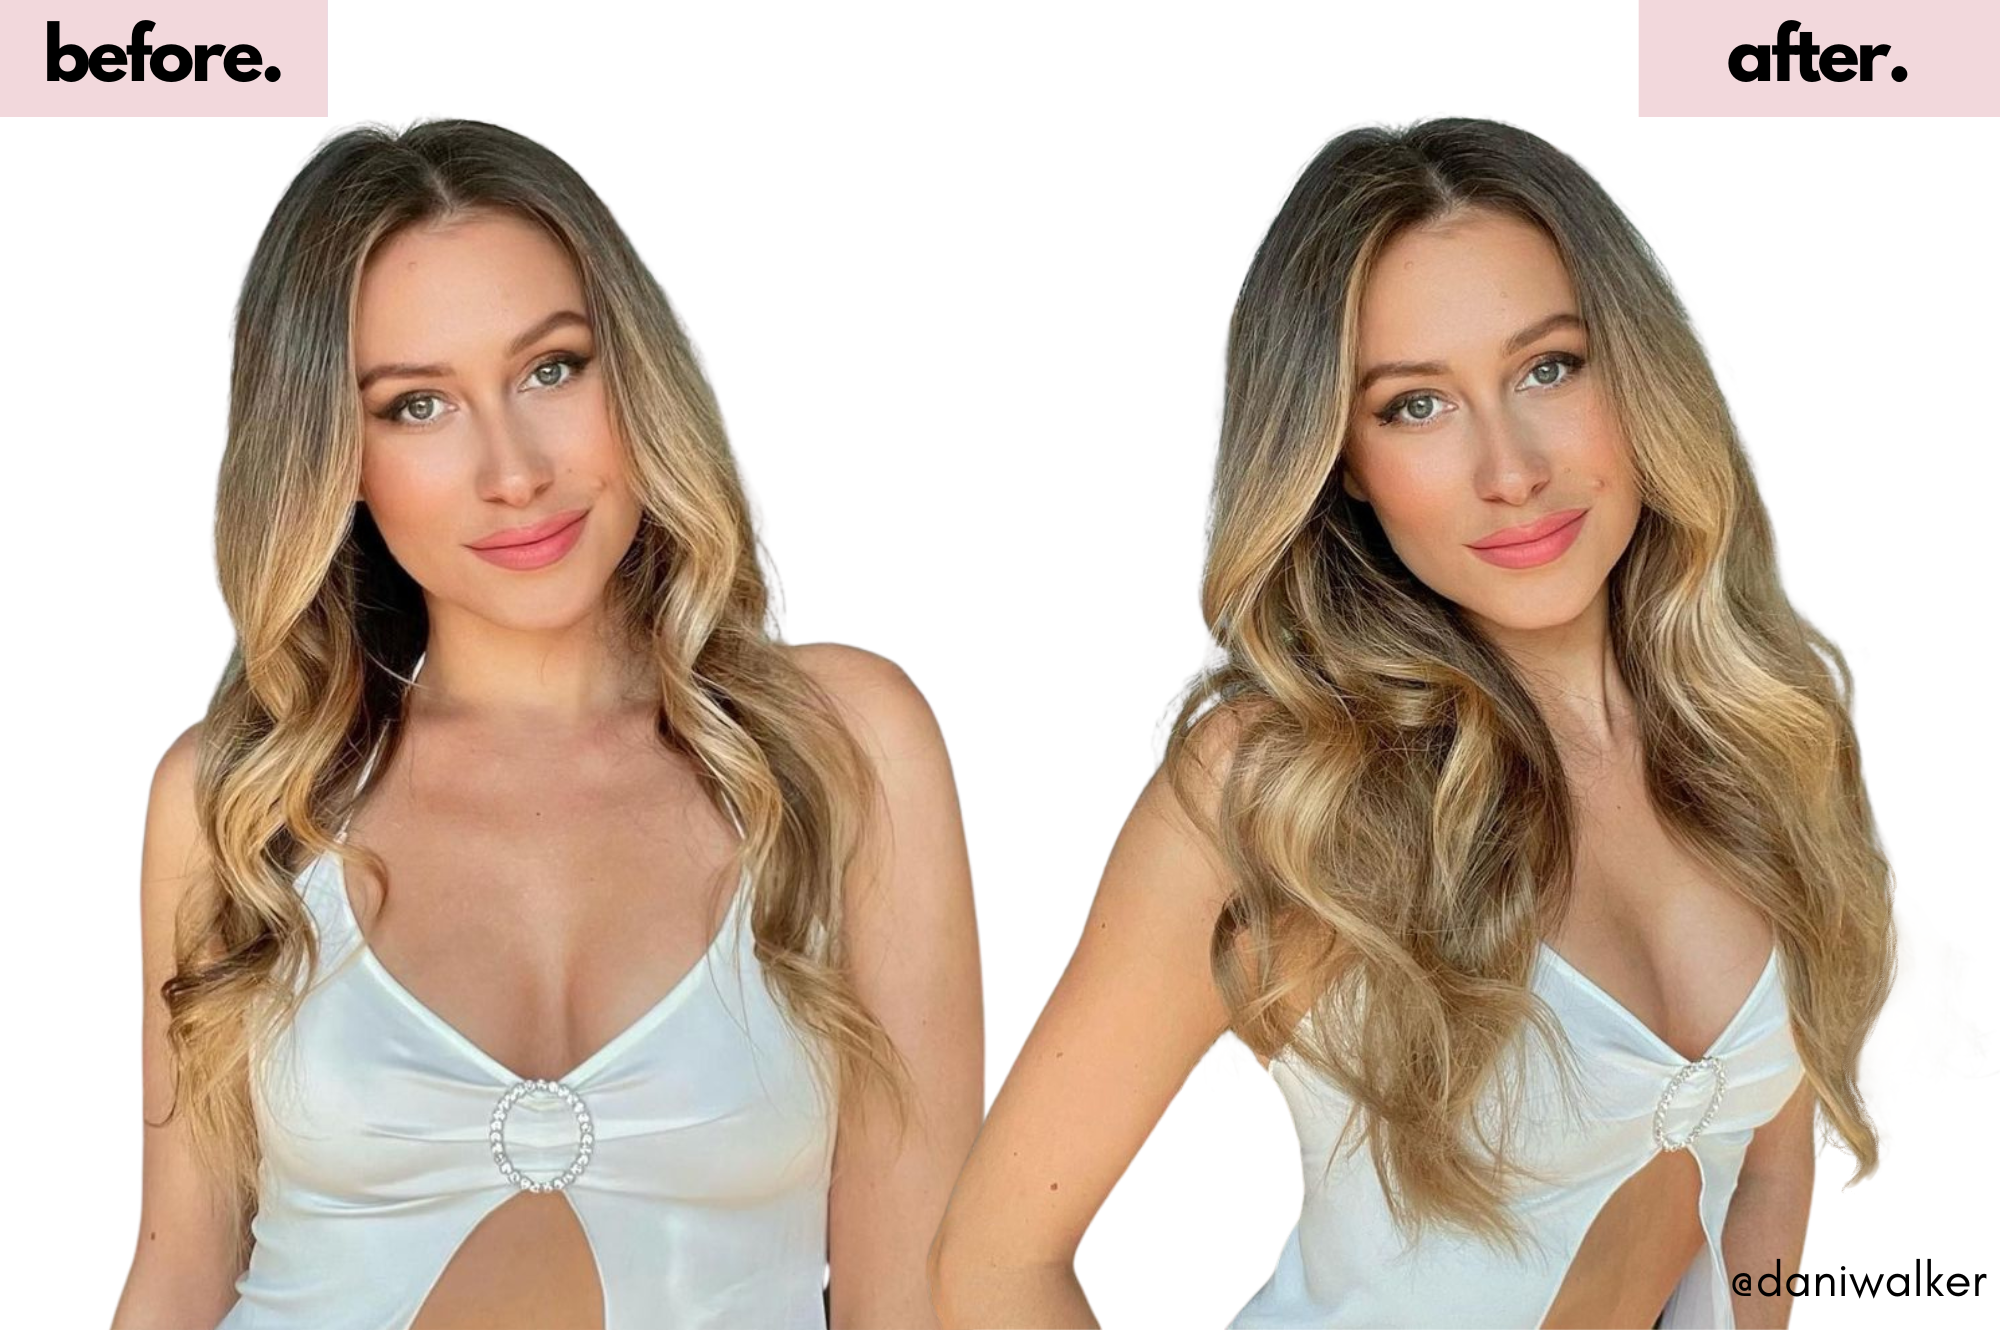
After clipping in all the wefts you need, brush out all the hair and start styling it. Use your favorite styling tools. By curling or straightening the real hair clip-ins and your natural hair together, you’ll make sure the blending is perfect and that the outcome looks natural in just minutes.
After you put in your hair extensions, you’ll want to make them look like they’re just part of your natural hair. Here’s a quick way to do that:
Start by layering your hair if your own hair is a lot shorter than the clip ins. This helps them blend together better. When you’re putting in the clips, tease your hair at the roots a bit. This gives the clips something to hold onto and hides them better. Don’t put the clips too close to the front of your head; start a few inches back so they don’t show.
When you’re all done clipping in the extensions, give your hair a good brush. Then, style it however you like, maybe with some curls or straightening. Just remember to treat your hair and the extensions gently, and they’ll look great together.
If you want to find out more about how to take care of your hair extensions, we have a step-by-step guide for you. Check this out!

Not sure about buying or wearing extensions? Why should you invest in human hair clip-in hair extensions rather than synthetic hair extensions? See this article, where we explain everything there is to know about the cost of hair extensions.

And there you go! With these easy steps, no one will be able to tell you’re wearing extensions, and you’ll have a beautiful, full head of hair.
Check out our Instagram page for more tutorials on how to use clip-ins for a zero damage, zero stress transformation!